Create a Symbol from an Object on the Artboard
To convert an Artboard object into a Symbol in Adobe Illustrator:
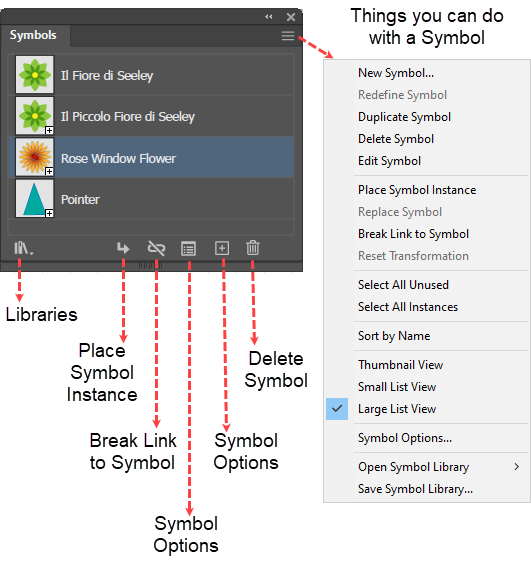
- Open the Symbols panel.
- On the Artboard, select an object that you want to serve as a prototype from which to create a new Symbol.
- Drag the prototype object from the Artboard into the Symbols panel. (Alternatively, select the object and in the Symbols panel, click the New Symbol (+) button (F8) at the bottom of the panel). Ai will display the Symbol Options dialog box.
- In the Symbol Options dialog box, name the Symbol and as needed, set other Symbol Options. Ai will:
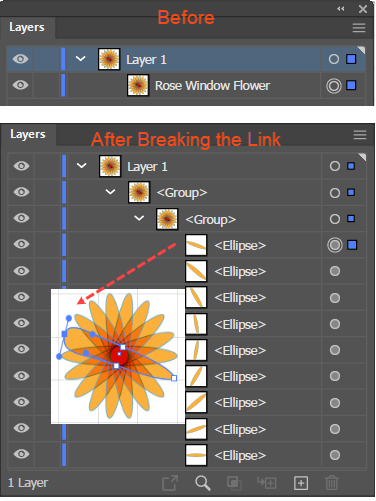
- Create a Symbol from the object.
- Replace the selected object with an instance of the Symbol.